25 Candy Apple Hacks for Halloween Treats & Fall Parties
Candy apples look like a carnival skill, but they're mostly about temperature and prep. These 25 candy apple hacks cover picking the right apples, getting the coating to actually stick, avoiding sticky disasters, and decorating ideas that look bakery-level.
1. Scrub Off the Wax First
Grocery-store apples wear a wax coating that candy slides right off of. Scrub each apple with hot water and a little baking soda, then dry completely — the candy shell grips the clean skin and won't sheet off in the bowl.
2. Chill Apples Before Dipping
Cold apples help hot candy set faster and thinner. Refrigerate scrubbed, skewered apples for 30 minutes before dipping — the coating firms up on contact instead of pooling at the base.
3. Use Firm Tart Apples
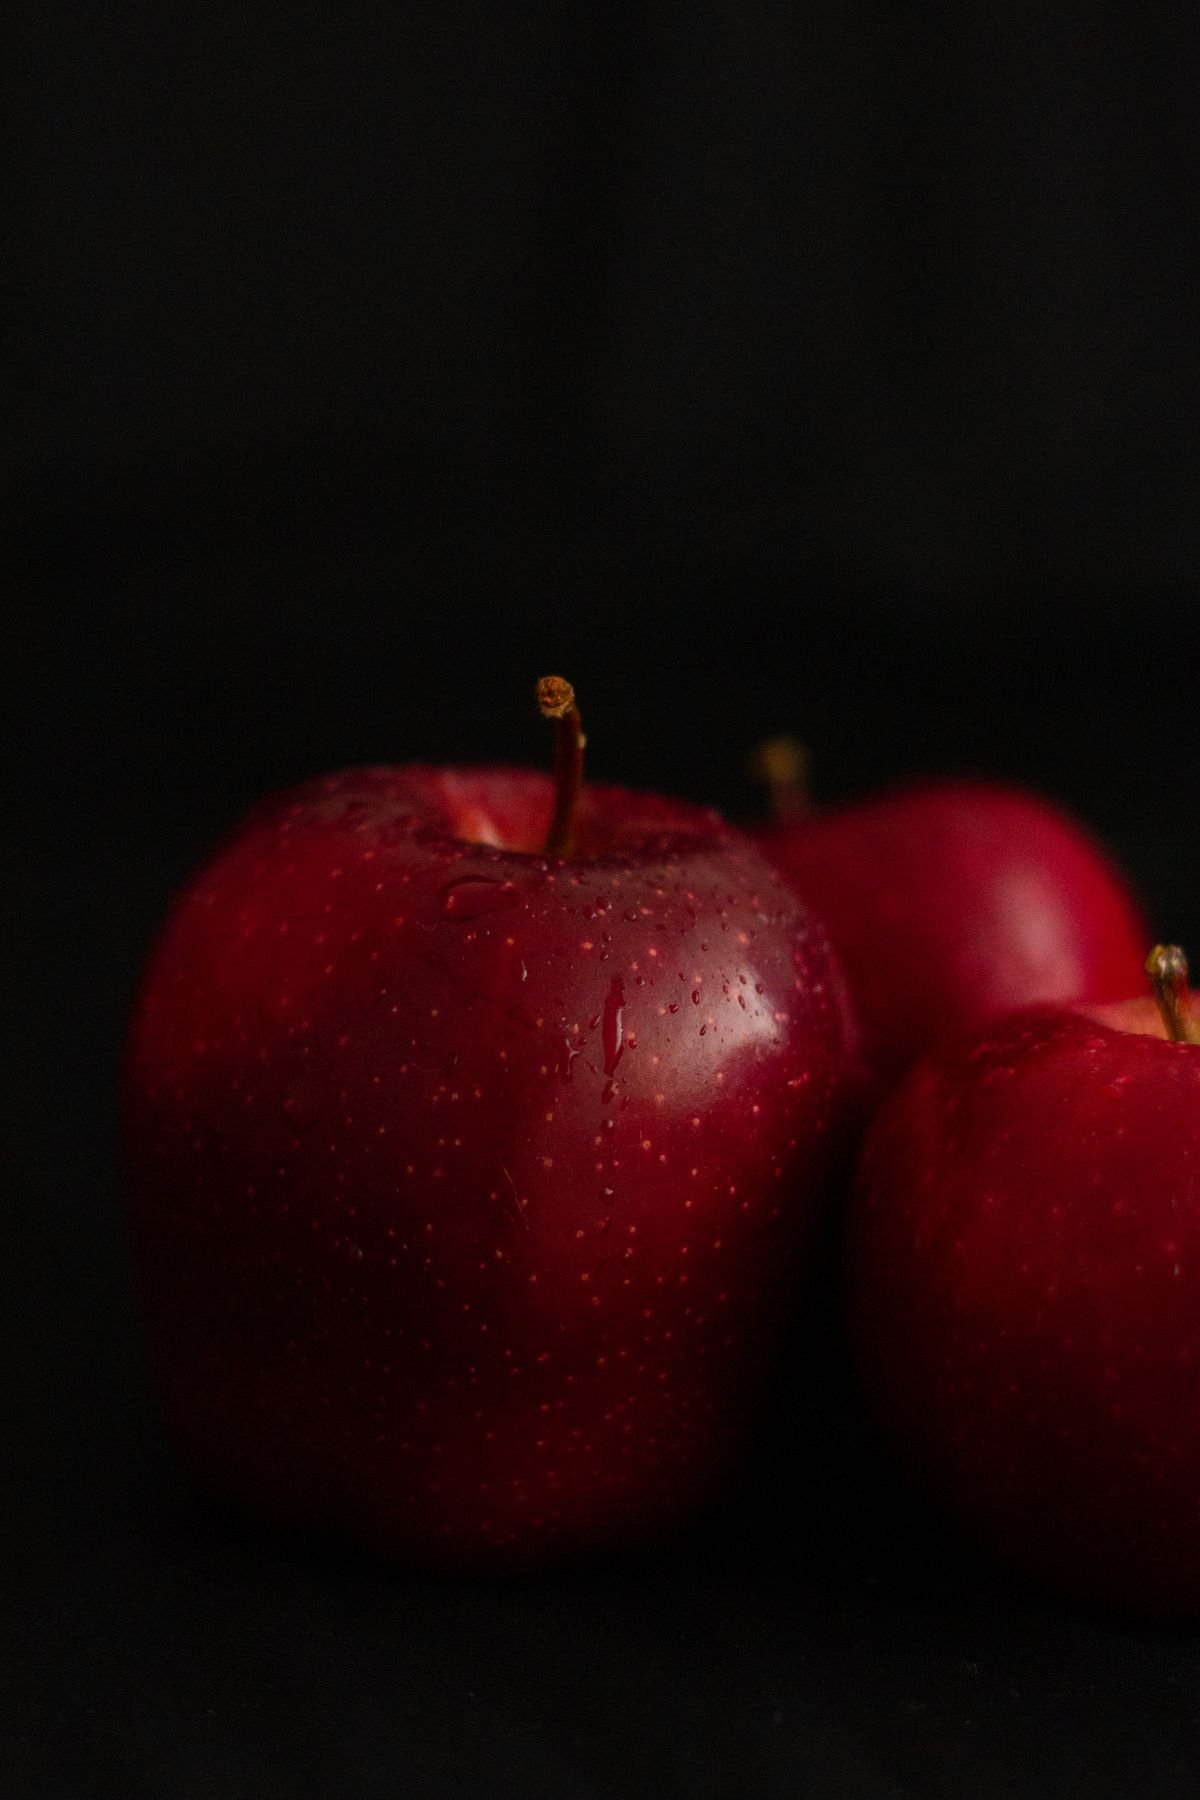
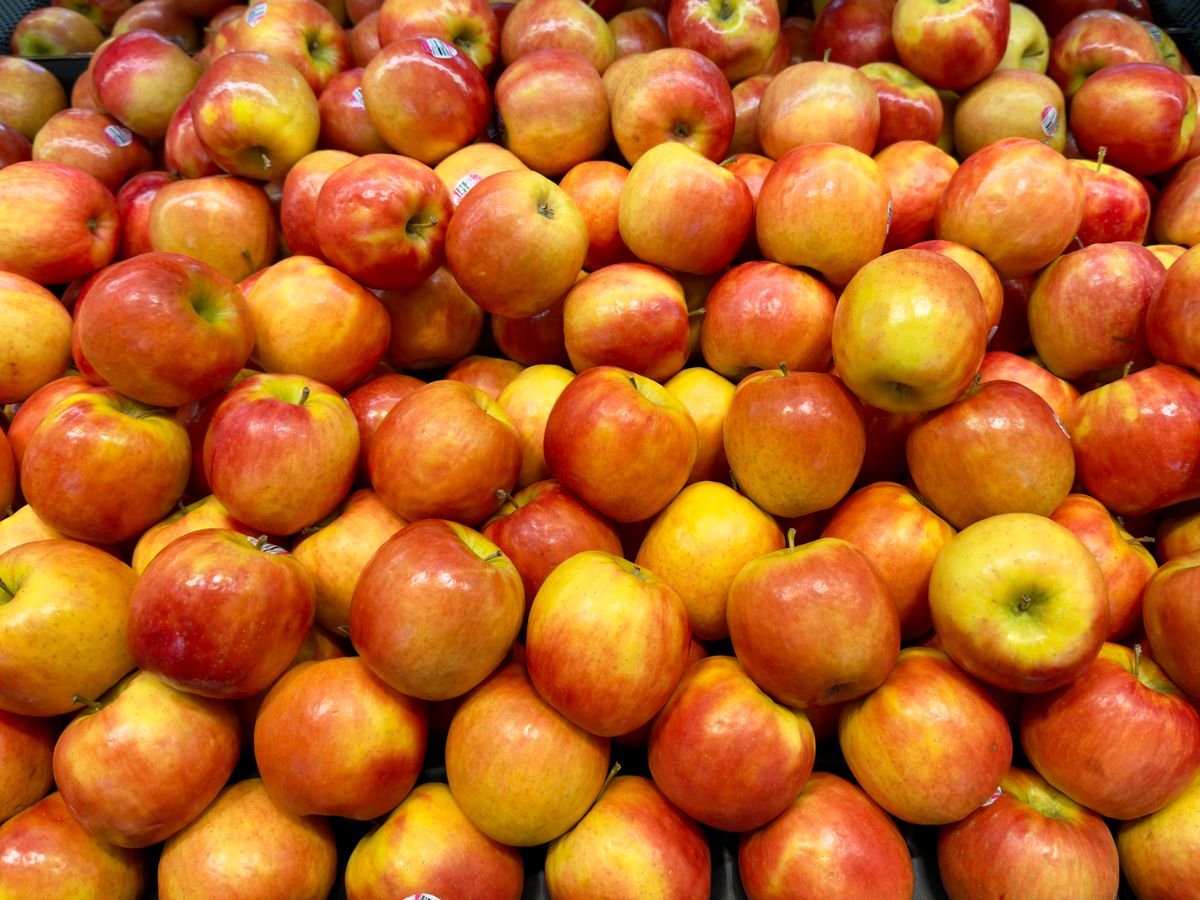
Granny Smith and Honeycrisp hold up best: firm flesh that stays crisp for days and tartness that balances the sweet shell. Soft or mealy apples weep juice under the coating and turn mushy by day two.
4. Dry Apples Completely
Any water on the skin becomes steam under hot candy and makes the shell bubble and slide. After washing, air-dry apples on a towel for an hour or pat bone-dry — this step matters more than the recipe.
5. Insert Sticks Before Chilling
Push sturdy sticks or dowels into the stem end before the apples go in the fridge. Cold, firm apples take sticks cleanly; trying to skewer a candy-coated apple later cracks the shell.
6. Cook Candy to Hard-Crack Stage
Candy coating must hit 300F (hard-crack) on a thermometer — at 280F it stays tacky forever. If you don't own a thermometer, drop syrup in ice water: it should snap into brittle threads, not bend.
7. Add Corn Syrup to Prevent Crystals
A few tablespoons of corn syrup in the sugar mixture interferes with crystallization and keeps the coating glassy-smooth. Without it, the candy can turn grainy and opaque as it cools.
8. Tilt the Pot to Dip
Tilt the saucepan so the candy pools deep on one side, then twirl the apple through it. You get full coverage with less candy in the pot, and twirling — not dunking — keeps the coat thin and even.
9. Let Excess Drip, Then Scrape the Base
Hold each dipped apple upside-down for 30 seconds to let excess drip back, then scrape the bottom across the pot rim. This stops the thick candy 'foot' from forming that glues the apple to the tray.
10. Set on a Buttered Sheet Pan
Place dipped apples on a lightly buttered or parchment-lined sheet pan, not wax paper. Hot candy melts wax paper's coating and sticks; butter or parchment releases cleanly once the shell hardens.
11. Work Fast in Small Batches
Candy coating starts setting the moment it leaves the heat. Dip only three or four apples per batch of syrup, then rewarm — a fifth apple in cooling syrup gets a thick, lumpy coat.
12. Add Toppings While Tacky
Sprinkle crushed nuts, sprinkles, or cookie crumbs within a minute of dipping, while the shell is still tacky. Wait five minutes and nothing sticks; toppings bounce right off hardened candy.
13. Make Caramel Apples at 245F Instead
For chewy caramel apples, cook the caramel to firm-ball stage (245F), not hard-crack. Same apples, same technique, completely different treat — offer both at a party and watch which disappears first.
14. Warm Caramel, Then Roll in Toppings
Dip in warm caramel, let it set 10 minutes, then roll in mini chocolate chips, crushed pretzels, or toffee bits. The set caramel is tacky enough to grab toppings without them sinking in and disappearing.
15. Slice Apples for Easy Serving
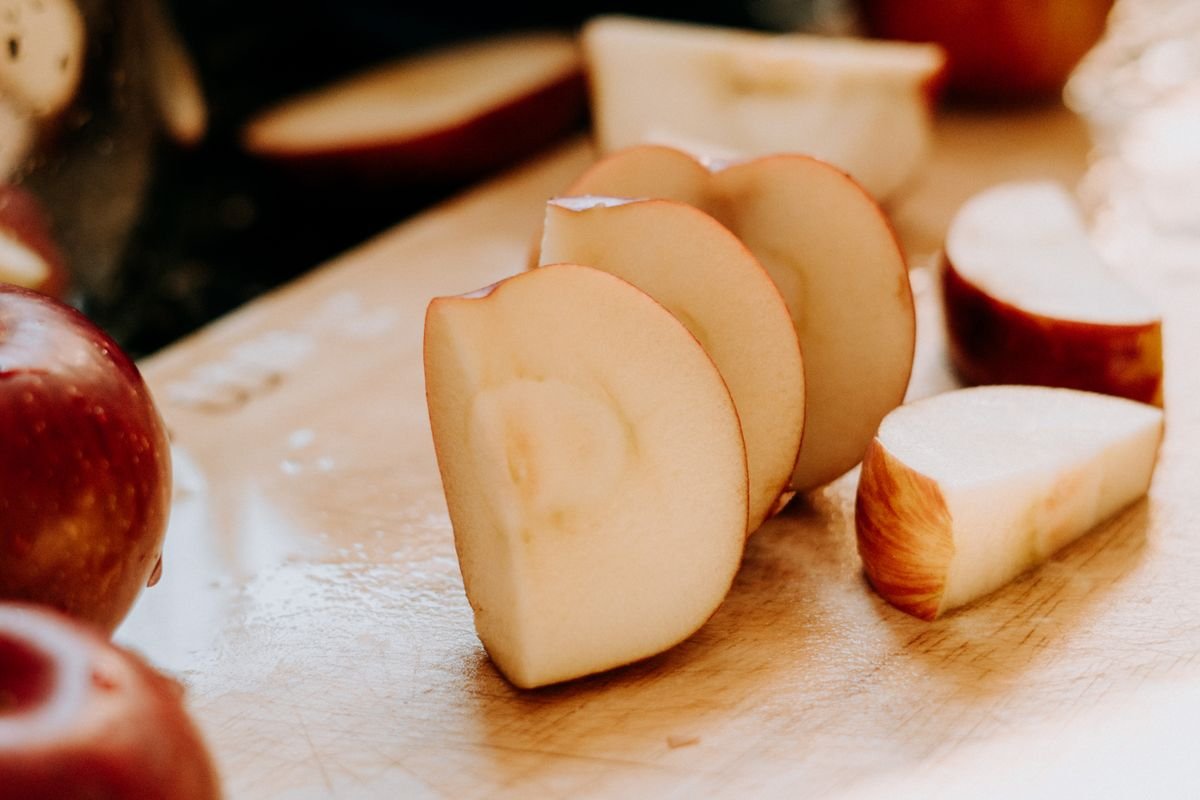
Cut finished candy apples into wedges with a heavy chef's knife just before serving. Guests get all the flavor without wrestling a whole apple on a stick, and slices are far more party-friendly.
16. Drizzle Contrasting Chocolate
Melt white or dark chocolate, snip a corner of a zip bag, and zigzag it over set candy apples. The drizzle hides imperfections, adds flavor contrast, and makes plain red apples look professionally decorated.
17. Dip in Crushed Cookies for Crunch
Roll tacky candy apples in crushed Oreos, graham crackers, or Biscoff. The cookie layer adds crunch and flavor that plain candy shells lack, and it covers any thin spots in the coating.
18. Use a Slow Cooker to Keep Candy Warm
Transfer finished syrup to a slow cooker on warm for big batches. It holds dipping temperature for an hour without scorching, so apple 20 dips as smoothly as apple one.
19. Avoid Humid Days
Sugar candy and humidity are enemies — on damp days the shell stays sticky for hours. If you must make them, run the AC or a dehumidifier, and store finished apples in a cool, dry spot, never the fridge.
20. Store at Room Temp, Not the Fridge
Refrigerated candy apples sweat when they come back to room temperature, and the shell gets sticky. They keep two to three days at cool room temperature in an airtight container with parchment between layers.
21. Fix a Too-Thick Coat With Reheating
If the syrup cooled and coats went on thick, rewarm it gently with a spoonful of water. Thin, hot syrup self-levels into a glassy shell; thick, cool syrup sets lumpy and heavy.
22. Try Mini Apples for Bite-Size Treats
Crab apples or Lady Alice minis on lollipop sticks make two-bite treats kids can actually finish. Use the same technique with a shorter dip time — they're adorable on a dessert table and portion-controlled.
23. Add Food Coloring After Cooking
Stir gel food coloring into the syrup after it comes off the heat, not during cooking. High heat fades most colors; off-heat coloring keeps Halloween black, orange, and purple vivid and even.
24. Make Poison Toffee Apples for Halloween
Color the hard-crack syrup deep black or blood red and add a drop of cinnamon oil. The dramatic look takes zero extra skill, and the cinnamon heat makes them taste as striking as they look.
25. Bag Them as Party Favors
Slip each finished apple into a clear cellophane bag and tie with ribbon once fully set. They look like a candy-shop purchase, travel without sticking together, and make perfect Halloween party favors.